Our next challenge project has begun!
We were introduced to the "Trebuchet Challenge" in the first week of October.
First, we had to build a
mini-trebuchet from heavy weight paper, to learn the concepts of how both distance and accuracy work with a trebuchet. (Click
here for the instructions and plans.)
(Click
here for an online model/game to discover trebuchet concepts.)
My partner, Jonathan, and I were the first team to successfully do this, on Friday, and therefore the first team to receive our tennis ball, as well as the ability to start working on our actual trebuchet.
With the help of Jonathan's dad, we welded our trebuchet over the weekend, and went to Jonathan's house on Monday to start
adjustments.
We created our pouch that day, which holds the tennis ball, but things weren't working out well.
The trebuchet worked, but the ball was not going far enough.
We decided to leave it alone until Test Day, and to think about what else we could do.
We created a new pouch for
Test Day, and began to start seeing better results.
Our trebuchet is still not always consistent, and isn't going the full 25m yet, but we are getting close (at about 21m maximum). It is fairly accurate, and should be able to do well in the 15m accuracy hurl. The rest of this week, and weekend, should hopefully include some improvements to the trebuchet.
It's definitely doing better than it was to start with!
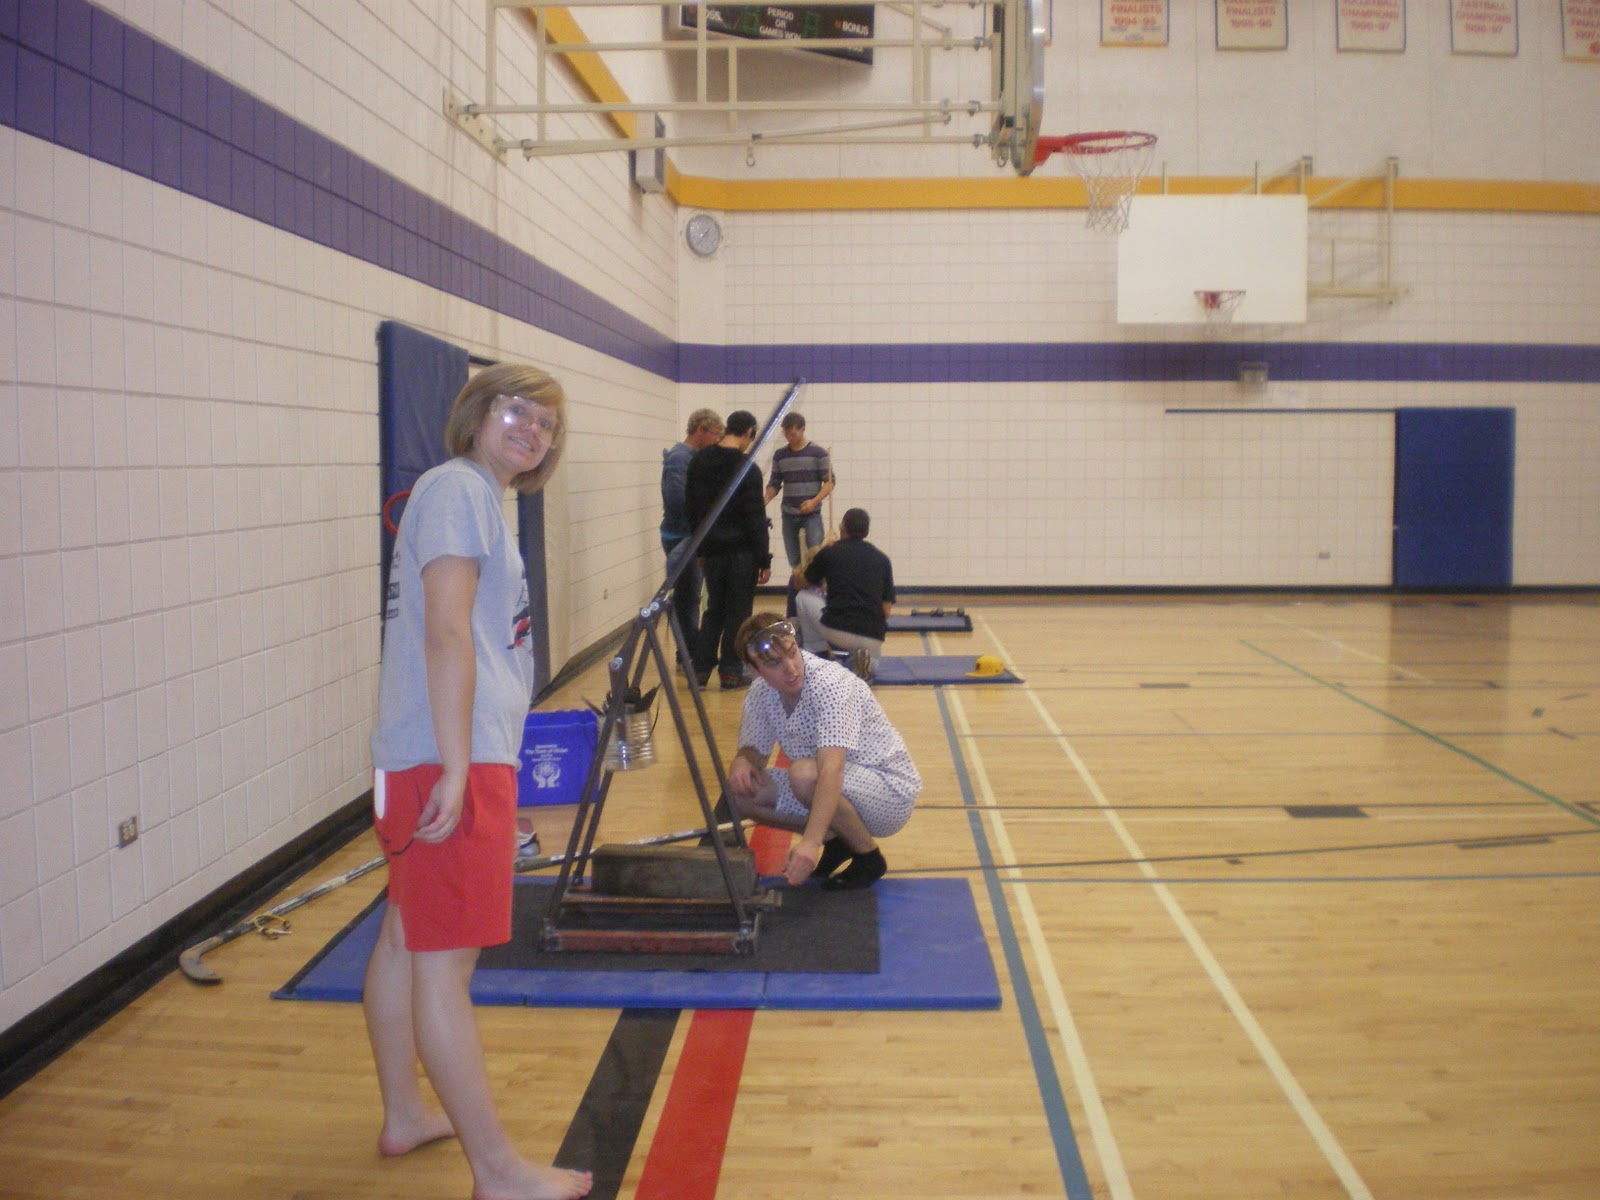
Here is a list of our materials used in our competition trebuchet, as well as procedure:
one 2ft. x 2ft. metal floor grate.
four 3ft. uprights, slanted
one 3/4in. threaded rod
one 1m throwing arm
one 2ft angle iron (ball guide)
adjustable pouch hook
pouch (denim, thread, string) (original: cotton t-shirt w/vinyl print, thread, vinyl rope)
one ketchup can counterweight
23lb of counterweight mass
various nuts and bolts
6x6 for stability, placed on base
tennis ball #1
floor mat (to protect gym floor)
With the help of Jonathan's dad, we welded and bolted the metal together.
The throwing arm was placed on the threaded rod, and held in place by nuts and bolts.
The ketchup can is currently has supports bolted on two sides.
The pouch hook is adjustable with pliers.
We made the pouch like the one for the mini-trebuchet, only larger. This includes cutting cloth and sewing a pocket seam.
The pocket seam allows the pouch to be cinched slightly by the string to hold the ball tight enough, but to still release it.
The one string of the pouch must release off the hook to release the ball.
We are using sickle guards, cultivator shovels, and two weights of different masses to combine to the 23 pounds of counterweight mass.
We still need to devise a release mechanism. Our current idea is to use hockey sticks to hold the ball.
Our design works, and now we just need to revise and refine it, for more consistent, and better, results.
Hopefully everything works out for Competition Day next week.


