Monday, January 24, 2011

Spaghetti Bridge

Over the last couple of weeks, our physics class, as well as the grade elevens, worked on the spaghetti bridge challenge project.
After spending some class time and lots of spare/lunch hours working on the bridge, it was displayed in the case at the school entrance, giving it a couple days to dry and harden.


Before Drying
 

Competition Day was Friday January 21.
My team's bridge was very successful - definitely exceeding our expectations.
It was awarded the class-voted "Most Appealing Design", held the most mass overall (6.5kg) , and the most mass supported per gram of spaghetti (24.3grams of mass/gram of bridge).
Our bridge could have supported more, but we jumped from 6.5 kg to 10.0 kg, since we had already exceeded the required mass and were then aiming for a record.


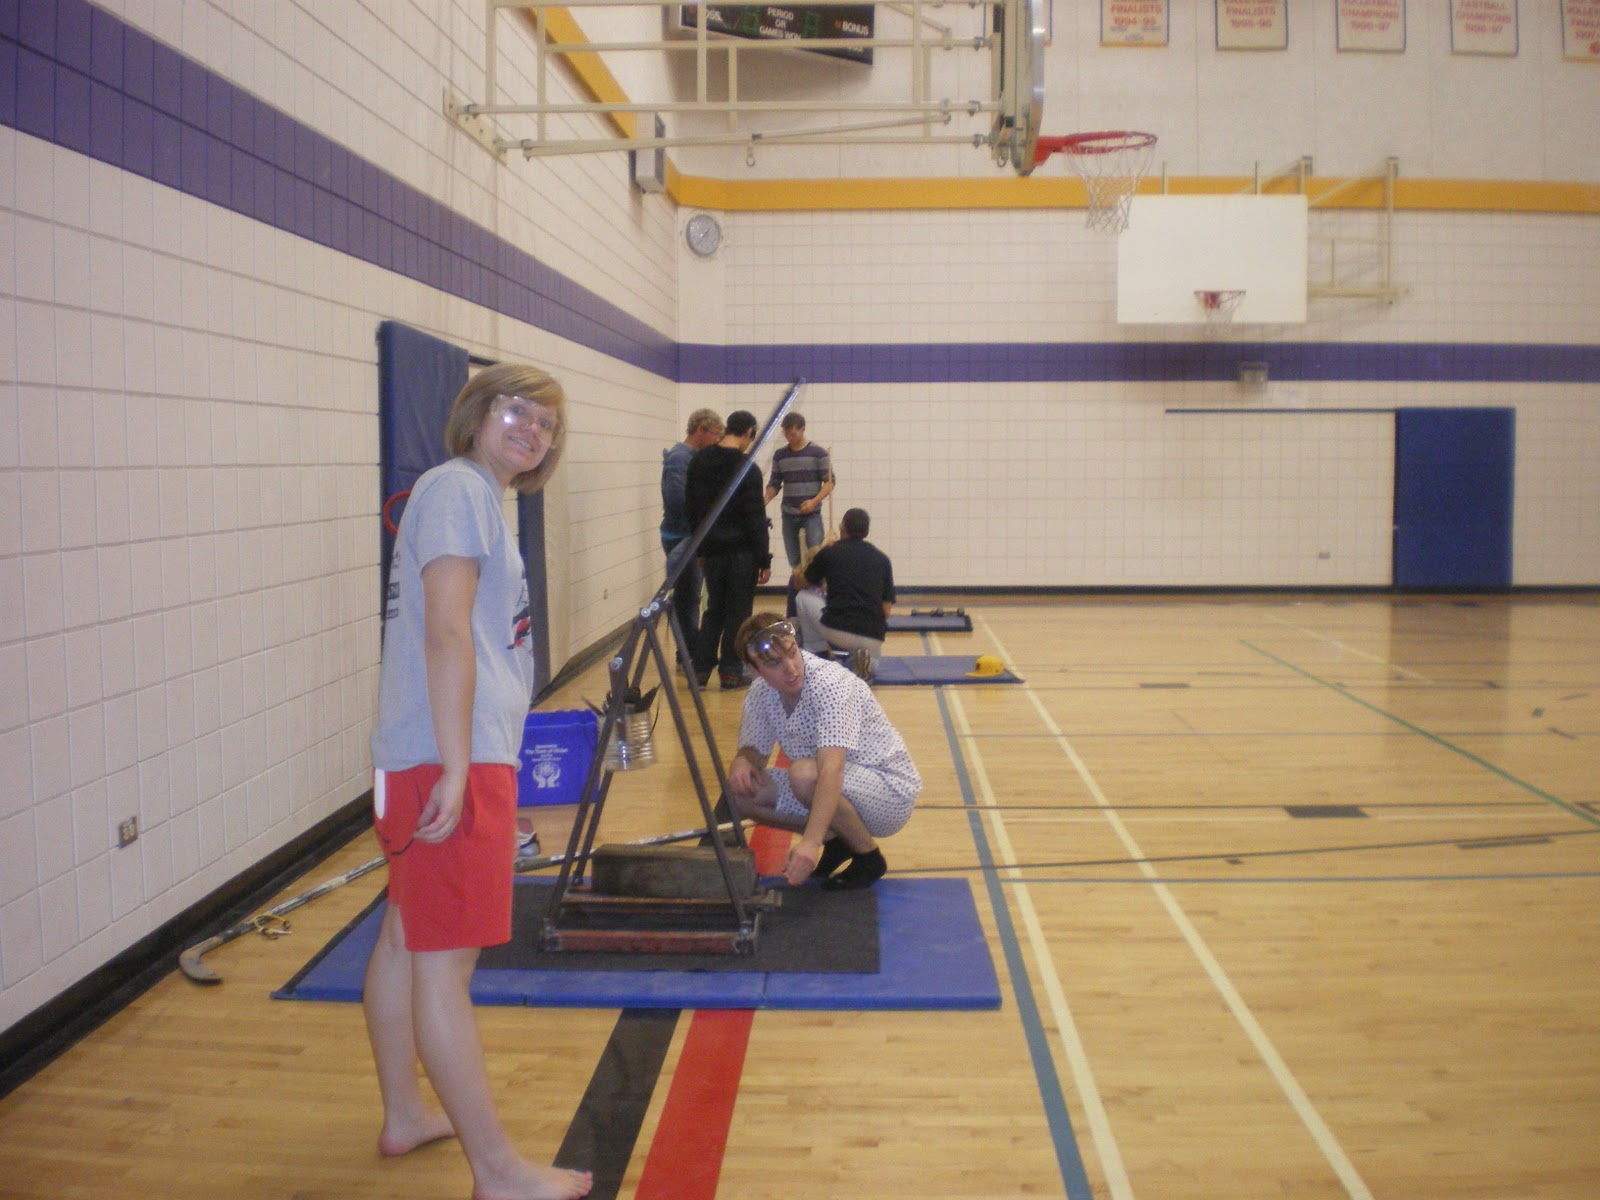
Apparently I was a bit nervous!

Adding the Masses


Reflection Questions:
1. What part of the process did you find the most rewarding? Why?
 I feel that the most rewarding part of the process was when our bridge was finally complete. There were a lot of days where we weren't exactly sure what we were doing or if we were going to finish. To see the completed bridge, not only finished but fairly well done, was the most rewarding (and relieving) part of the process.

2. Identify the specific strengths of your bridge design.
I believe that the base of our bridge was the strongest part of our design. It was thick, with each layer interlocked with the others. Everything was well connected with lots of glue. It was a time consuming process, but it paid off. In the end, it was the center of the base that broke, but the rest of it did not even crack.
Our "spaghetti sticky-tac" was also a strong invention. After using a leaky water container as a weight to keep our spaghetti from warping, we accidentally created a mushy mess, that when mixed with glue, made a wonderful supportive adhesive, that dried very hard. It came in very handy!

3. Identify any changes that you would incorporate to refine your present design. Based upon your observation during the competition, what effect might these changes have on your bridge?
If I could have made any refinements, I would have strengthened the center of the bridge. We built a hole into the base so that we could place the mass hanger on the base. The narrow sides were the weak spot that ended up breaking. We could have coated those sides with our spaghetti sticky-tac to add more thickness, strength, and support. If we had more time, we could have refined the supports, making them more effective as well. We did have some mass to play with, but we did not have the time. The extra support system also could be completely redesigned to support more mass (whether they were thicker, or had different placement).

Final Thoughts:
Time is definitely a necessity for this project, because things need to dry in between every step!
Have lots of glue - just as much will go on your hands as the bridge!
Awesome discoveries are usually accidental!
Don't stress too much - have fun with projects like these!

Sunday, November 21, 2010

Competition Day Photos

Not Very Happy


Competition Day :(

Competition Day did not go well.
We had our trebuchet working fine the night before, but then had to take it apart to bring it back into town.
Our pouch had also started to fall apart.
The competition consists of 5 hurls for the distance part.
Only those 5 count, and they must be averaged.
Our pouch was not letting go of the ball correctly, causing 3 out of 5 throws to be less than 50%.
We also could not get it to correctly hurl for accuracy.
At least the lowest score you could get for that was 60% due to the low numbers of groups in our class.

Luck was definitely not on our side on competition day.
Everything that could go wrong, went wrong.

Pictures are on another post.
We didn't take any videos. We were too exasperated to think of that.

Hopefully the Medical Physics challenge project goes better.

Monday, November 15, 2010

Test Day Results

Test Day went well.
We had our trebuchet consistently, succeeding at the accuracy challenge of 15m.
We had a greatest distance of about 21m.
It performed fairly consistently of over 15m.
We will make some changes to try to increase our distance to 25m.
We also need to devise a trigger system.

We made an adjustment to the counterweight, increasing it's dropping distance to allow for greater force to hurl the ball.
The night before competition day, we had our ball going 25m, although not completely consistently. Throws were usually over 20m though.

We may use hockey sticks as a trigger system.

Thursday, October 28, 2010

Test Day Pictures

(Note: It was PJ Day!)


Pouch Hook

Construction Pictures

Making the Pouch


Attaching the Pouch
Testing and Adjustments


Adding More Mass to the Counterweight


Our Obama Pouch! (It didn't really work. Wasn't big enough.)


Mini-Trebuchet Pictures


Distance Shot

Accuracy Shot

We got our tennis ball! #1!

Trebuchet Time!!

Our next challenge project has begun!
We were introduced to the "Trebuchet Challenge" in the first week of October.
First, we had to build a mini-trebuchet from heavy weight paper, to learn the concepts of how both distance and accuracy work with a trebuchet. (Click here for the instructions and plans.)
(Click here for an online model/game to discover trebuchet concepts.)

My partner, Jonathan, and I were the first team to successfully do this, on Friday, and therefore the first team to receive our tennis ball, as well as the ability to start working on our actual trebuchet.
With the help of Jonathan's dad, we welded our trebuchet over the weekend, and went to Jonathan's house on Monday to start adjustments.
We created our pouch that day, which holds the tennis ball, but things weren't working out well.
The trebuchet worked, but the ball was not going far enough.
We decided to leave it alone until Test Day, and to think about what else we could do.

We created a new pouch for Test Day, and began to start seeing better results.
Our trebuchet is still not always consistent, and isn't going the full 25m yet, but we are getting close (at about 21m maximum). It is fairly accurate, and should be able to do well in the 15m accuracy hurl. The rest of this week, and weekend, should hopefully include some improvements to the trebuchet.
It's definitely doing better than it was to start with!

Here is a list of our materials used in our competition trebuchet, as well as procedure:
one 2ft. x 2ft. metal floor grate.
four 3ft. uprights, slanted
one 3/4in. threaded rod
one 1m throwing arm
one 2ft angle iron (ball guide)
adjustable pouch hook
pouch (denim, thread, string) (original: cotton t-shirt w/vinyl print, thread, vinyl rope)
one ketchup can counterweight
23lb of counterweight mass
various nuts and bolts
6x6 for stability, placed on base
tennis ball #1
floor mat (to protect gym floor)

With the help of Jonathan's dad, we welded and bolted the metal together.
The throwing arm was placed on the threaded rod, and held in place by nuts and bolts.
The ketchup can is currently has supports bolted on two sides.
The pouch hook is adjustable with pliers.
We made the pouch like the one for the mini-trebuchet, only larger. This includes cutting cloth and sewing a pocket seam.
The pocket seam allows the pouch to be cinched slightly by the string to hold the ball tight enough, but to still release it.
The one string of the pouch must release off the hook to release the ball.
We are using sickle guards, cultivator shovels, and two weights of different masses to combine to the 23 pounds of counterweight mass.
We still need to devise a release mechanism. Our current idea is to use hockey sticks to hold the ball.

Our design works, and now we just need to revise and refine it, for more consistent, and better, results.
Hopefully everything works out for Competition Day next week.

Wednesday, September 29, 2010

Final Thoughts: SUCCESS!

Launch Day was a success!
Our egg survived the five meter drop, we had the lightest container, and fully qualified restriction wise.

Here is some data regarding our container on Launch Day:

Mass of Container: 54.0g
Mass of Egg: 64.8g
Total Mass: 118.8g
(Lightest Mass. 2nd Lightest with egg, but we had the heaviest egg.)

Dimensions:
   Height: 24cm
   Diameter: 19 to 20 cm (varied at different points - balloons caused an imperfect cylinder)

Distance of Falls:
  Gym: 5m
  Roof: about 15m

Time of Fall:
  Gym: 1.00s
  Roof: 1.93s
 (Shows velocity increased with increased height.)

Condition of Egg:
  Gym: Unbroken
  Roof: Broken

Score = (2000/mass of container) x earned egg points
Earned egg points: (determined from 5m drop)
  10 points: unbroken egg
   5 points: cracked shell
  1/2 point: broken egg

Score = (2000/54.0g) x 10
          = 370.4
(Highest Score)

The gym launch of five meters was the one that "counted".
We did the roof launch of approximately 15 meters "just for fun".

Analysis:
1. I feel the most limiting restriction during the design phase of this project was the dimensions. Having to fit the container into a 25cm-cube eliminated the possibility of a parachute and also limited the size of the balloons we could have around the cylinder for padding once we were on our final design.
If we could have had a larger container, we could have had larger balloons or more balloons to give the egg greater protection.
If we could have had a parachute, air resistance would have had a larger role in protecting the egg.
It definitely was possible to work within the dimension limits, but we did have to be careful.
In the end we were close to the limit, having a height of 24cm, but we managed.
Mass also had a fairly large influence - not so much for the actual design (although we tried to use as light of materials, and as few of those materials as possible) but more with that we wanted to have the lightest container possible to earn higher points.

2. I believe the most effective part of our design was the balloons surrounding the egg. They protected the egg when it landed, since the container always fell on its side. The balloons also made the container less aerodynamic, causing the fall to be a little slower. While the cardboard cone that the egg was situated in may have spread the impact around the circumference of the egg, rather than a single point, if the balloons weren't there to protect the sides as they hit the ground when the container fell over, the cone would have been essentially ineffective. Thus, the balloons were the most effective part of our design.
The least effective part of our design was probably the extra padding inside the cone. It really didn't do too much, since the egg was fit into the cone fairly snugly. It really did just add extra mass, but the little bit of extra padding helping to secure and protect the egg added that little bit of extra "insurance".

3. If we were to adapt our container to safely support two eggs, while still staying within the restrictions, I believe we would need to add another row of balloons above the existing row. We would just place the second egg on top of the first in the cone/tube. The balloons would cushion the circumference of the second egg. The two eggs would need to be separated by cushioning so they wouldn't hit and crack each other. Also, we would maybe need to devise a system to hold the second egg in, since it wouldn't be so far in the cone, and thus the cone wouldn't be as tight and wouldn't hold the egg as snugly. The adapted container would have a larger mass, but the adaptations could be done.

All in all, this was a very rewarding project.
There were a lot of ups and downs, mostly starting with downs.
At the start, we weren't sure if we were ever going to create a working container, but we did it.
Our new container not only worked, but was the lightest as well.
We had some fun with this, both throughout the design process and on Launch Day.
(Going up on the roof of the school was pretty awesome!)
Within all that, we also got to apply our existing knowledge and gain some new knowledge about forces, impact, falling, and cushioning.
As stressful as this project was at times, trying to make something that worked, here at the end of this, I am very happy with how everything turned out.

Thanks Roger!! You did great! =)
(If you haven't seen the caption for the one picture, our container got named Roger...somehow.)

Launch Day Media


The Official Launch - 5m


Roof Launch! - 15m ? (approximate)


Bevan and I with "Roger" (as the container became known)
After the Drop - A Little Bit Beaten Up!
(His balloons fell off with the impact.)

Thursday, September 23, 2010

Egg Drop Presentation

Today in class, we presented our blogs, explaining our whole adventure with this egg drop.
If you want to see what Bevan and I said, as well as when/where we showed pictures (and videos, which I have yet to get to work on here!) go to the very bottom of this page.
There is a link to the "Egg Drop Presentation" page.
This contains our dialogue and links for photos.

Launch Day is tomorrow! Wish us luck!

(Videos are now up and running! There are a few in a couple different posts. All the links in the presentation are working now too. - Sept. 29, 2010)

Wednesday, September 22, 2010

New Design Photos

 
New Design - Which WORKED!
Success!

Design Drawing


Testing of Our New Design

Monday, September 20, 2010

New Designs, New Results

The weekend led to new inspiration, new ideas, and thus a new design.

It's much lighter, much softer, and all-in-all, a lot better!
We tested it today, and it easily survived the 5 meter drop!
Things are looking way better for Launch Day now.

I'll upload some pictures and video as soon as I get them off my camera.

This has turned out to be a good day! Good results make me happy!

First Designs - Tests

At Home Tests


Our Original Design
 
      Bevan dropping our original design from 2 meters.

Variation of Our Original Design - It Didn't Work Either!


Testing Our First Design from Approximately 4 Metres


School Test Day

Testing at 2m, Padding Added

It Didn't Break!
(Only at 2m though...)


Test Day at School - Padding Added - 5m Test


Thursday, September 16, 2010

Test Day....Fail?

After building our egg drop container on Tuesday evening, Bevan and I had a container that we thought could handle at least two meters.
It hadn't worked at about 4 meters, so we made a few changes.
We tried that container at school today, and it didn't work.
Two words. Broken egg.
Which of course, defeats the whole purpose of this project. 
We made some adjustments of extra padding and stabilization, and managed to get it to work fine at two meters.
With no extra materials on hand to make any more changes, we decided to test from the full five meters up.
Let's just say, we need to rethink our design.
Scrambled eggs in a bag anyone?

At least our container is fully compliant with the other criteria.
It's small enough to fit in a 25cm cube.
No liquids were included.
The egg was raw (evident when it broke!)
Also, it is fairly light.
Hopefully our revised design will be a bit lighter.

We're thinking we're need something that lands a little softer, and with a little less impact.
Although parachutes are not allowed, we're trying to use air resistance to our advantage, without breaking the rules.
Also, we might need some more padding, and need to make sure the egg is as secure as possible.

Bevan and I may work on improving our container this weekend, but if not, it looks like we have a work period on Monday in class.

Launch Day is next Friday...
Hopefully things will be looking more positive by then. 

I'll post some video and pictures once I'm within range of high-speed internet!

Tuesday, September 14, 2010

Welcome!

Here's my first blog post.
Just seeing how everything looks.
Hopefully within a couple days I'll have some real posts.
Need to get some Egg Drop Challenge content ready first though!